Friday, September 20, 2013

Homemade Pumpkin Pie Spice Latte


So we all know the hugely popular version of this drink, which I have to admit that I've never actually tried, however I LOVE the sound of it. I'm really not a fan of that coffee chain and I wanted to make my own version healthier and with all natural ingredients. If you can find a good quality canned organic pumpkin puree I'd use that however if you can't, making your own is very easy. Just put a 1/4 of a small pumpkin cut-side down on a baking sheet and bake for about 45 mins until totally soft. Then scoop out the flesh and blend it until totally smooth.

Ingredients:
250ml of milk (or milk alternative)
1 or 2 tbl of maple syrup or honey
1 tbl of pumpkin puree
1/4 tsp vanilla bean paste or extract
1/4 tsp pumpkin pie spice
1 shot of espresso


I've used both oat milk and cow's milk for this recipe, and they both turned out great, so use whatever kind of milk you'd prefer. This is how I like mine, but if you want it sweeter, spicier or more pumpkiny just up the quantities to your taste. If you have a milk steamer to heat everything together that would be amazing, however I don't, so I heated the milk and pumpkin puree in a saucepan before tipping everything into a blender and whizzing it up for about 30 seconds until the milk became frothy. Top with a sprinkle of pumpkin pie spice and enjoy! It's as easy as that.

Wednesday, September 18, 2013

Baked Wild Mushroom Tagliatelle

This is one of those perfect autumnal dishes that warms your bones and leaves you in a contented slump on the couch. This is not a light, pretty or delicate kind of dish, it's deep, earthy and totally comforting. I've adapted this recipe from Simon Hopkinson's version and I think it turned out fantastically. At the first mouthful Isaac and I exclaimed a loud "Mmmmmm" in unison and barely said a word until we squabbled over seconds! 


You start off with 500ml of milk in a saucepan (I used low fat cows milk but if you wanted to make it with a milk alternative I'd use a light and unsweetened version as otherwise it would be far too heavy) and 15g of dried wild mushrooms. I used a combination of Italian porcini and dried French wild mushrooms but whatever you can get your hands on is perfect. Poach the mushrooms for about 10 mins on a low heat making sure the milk doesn't boil but that the mushrooms become soft. Turn off the heat and leave it to sit for another 10 mins with the lid on.


During this time I sauteed 2 large field mushrooms in a pan with some thyme and a bit of garlic and set aside. Strain the mushrooms from the milk but make sure to catch all the liquid in a bowl. With a bit of flour and butter (I used a vegan substitute) make a roux and whisk in the still warm milk and seasoning until thick and glossy. I cooked enough tagliatelle for 2 for about 8 mins before adding it to the white sauce and mushrooms. 


To finish it off I sprinkled garlic and herb breadcrumbs (you could use cheese if you wanted) over the top and baked it in hot oven for 20 mins until golden brown. This is such a delicious meal and I'm positive I'll be making it again on those cold, autumnal nights when nothing else could hit the spot.

Sunday, September 8, 2013

Lemon, Yogurt & Poppy Seed Buns

Hey all, I'm really sorry for my almost month-long absence from blogging, but don't worry, I'm back and kicking things off again with some delicious lemon, yogurt and poppy seed buns! I opened my kitchen cupboard recently and saw a big tub of lovely organic blue Turkish poppy seeds that have sadly not been used in a while, and felt that lemony-yogurty buns just had to be made. With a big cup of tea and a pair of fluffy socks they're a perfect treat for a chilly, early-autumn afternoon.


I love simple bun recipes, where you premix all of the wet and dry ingredients separately before combing them. No faffing about creaming or beating things together, just bung it all in!


Starting off with the dry, I used Dove's Farm organic white spelt flour, dark brown sugar, baking powder, pinch of salt and 2 teaspoons of poppy seeds. And for the wet I used, 2 organic eggs, a good dollop of vanilla bean paste, low fat organic natural yogurt, lemon juice, lemon zest (unwaxed) and sunflower oil.


The recipe makes 12 buns and they bake in 18-20 mins. The smell of the lemon and vanilla filled the house with such a gorgeous aroma that I was barely able to wait for them to cool down before brewing up a nice strong cup of tea and tucking in. Because I used sunflower oil instead of butter they had a lovely light texture with a great crumb structure. I don't like overly sweet bakes so I reduced the amount of sugar by a good bit, and thought they were perfect. I'm not one for icing either so I just have them as they are, but a pretty lemony swirl of icing would look very pretty. They should last about 3 days in an airtight container but realistically that won't happen! They're too good to resist!


Sunday, August 11, 2013

Japanese Cookery Workshop by Junko Hamilton

Yesterday morning I attended a Japanese Vegetarian Cooking Workshop by Junko Hamilton at The Heritage Community Garden in Donnybrook. I mean, how could I resist this? Delicious homemade veggie Japanese food, using some of the produce from a fantastic organic urban garden! Just amazing. A really nice group of people showed up to learn from Junko, some of whom had never tried making Japanese food themselves, some that had but wanted to learn more, serious foodies, veggies and non-veggies alike!


Junko started off by explaining the importance of 
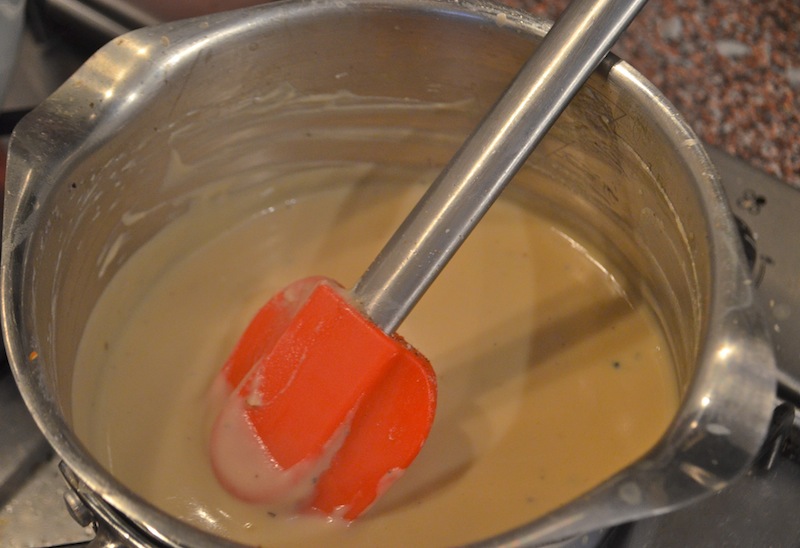
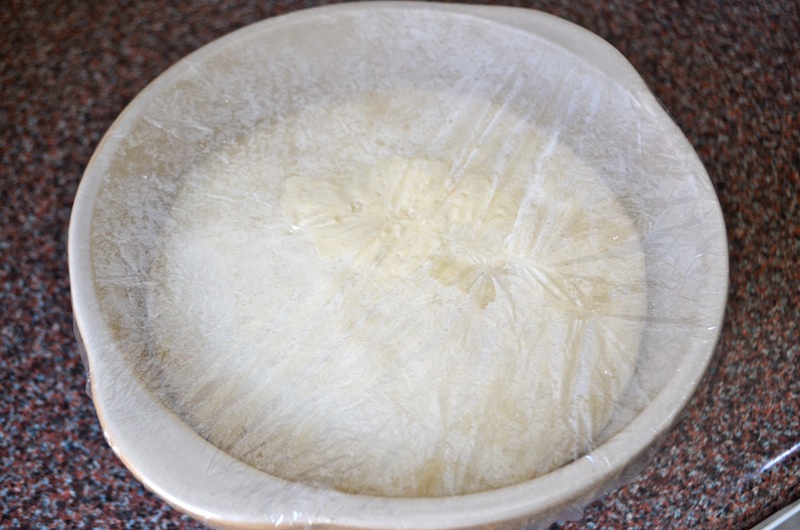
Umami in Japanese cooking. It's the 5th taste that our tongue senses after sweet, sour, bitter and salty and it's what makes Japanese food taste so good. Junko then showed us 2 basics recipes that we can add to any dish for an authentic Japanese taste, her "Mammy" sauce and homemade Kombu Dashi (seaweed water or stock). These were then used in a variety of sauces and dressings that we would have later on for our lunch.


We took a break then from the kitchen and were shown around the beautiful sunny garden by Jean Burtchaell, the head gardener, along with Kevin Corr. The Victorian garden was left idle until about a year a ago when Jean and Kevin took it on and transformed it in an amazing organic urban farm. The amount they've done in a year is staggering, growing amazing fruits and veggies like: berries, apples, pears, rhubarb, a huge variety of salad leaves, wild flowers, kales, kohl rabi, courgettes, aubergines, carrots, pumpkins, tomatoes, onions, corn, chards, cabbages, beans and peas, herbs, komatsuna, leaf beat, pak choi...I could go on and on! It's just amazing. We harvested some lovely yellow corgettes, purpley-pink kohl rabi, a few carrots and a big head of pak choi and headed back into the kitchen. 1


Junko then showed us 4 dishes using all of the gorgeous produce including Shira-ae (a delicious fresh tofu and vegetable dish), Tikikomi-Gohan (a Japanese style pilaf), Umezu picked kohl rabi and aubergine and courgette with sweet miso paste. The sauces made earlier were also used to dress tender vegetables and salads. We took all the delicious food back out into the garden and enjoyed it around the picnic table chatting and enjoying the sunshine.


I would highly recommend Junko's workshop, she was a wonderful teacher and it was a really relaxed and enjoyable afternoon. The food was just incredible, everybody went back for seconds and we all were excited to make the dishes at home ourselves.

Junko is hosting another Japanese Vegetarian Workshop at her home in Blackrock on Thursday 22nd of August from 5.30pm-8.30pm. If you'd be interested in learning more about fantastic homemade Japanese food, go to her Facebook page for more details on this soon.

Also to find out more about The Heritage Community Garden go to their Facebook page too.

Saturday, August 3, 2013

My Perfect Loaf of Bread


Making your own bread is so rewarding and once you start it becomes a little bit addictive. Also once you taste how delicious still-warm-from-the-oven bread tastes, you'll never want to eat a bought loaf again. Here's what you need:


450g of strong bread flour (organic really is best in my opinion)
7g (1 sachet) of dried fast action yeast
1 teaspoon of sugar
1 (heaped) teaspoon of salt
1 1/2 tablespoons of olive oil or 1oz of unsalted butter
About 300ml of warm water 


Yeast loves sugar but hates salt, so it's really important to keep them away from each other for as long as possible until everything is combined. I always start off by putting the yeast and sugar into the mixing bowl 1st before adding the flour. Then add the oil, salt and water. This gives the yeast the best chance of not being killed by the salt. Don't be afraid of the salt though, without it you'd have a very bland bread and no one wants that!


Although my recipe says about 300ml of warm water, it really depends on the type of flour you use and the temperature around you. If it's a very warm and dry day you may need more water, likewise if it's a very humid or wet day you may need less. The more bread you make the easier this is to gauge. Dough that is too wet or too dry will not make a good loaf, you have to find the right balance by feeling the dough (although it is better to have a dough a bit on the wet side than overly dry). Add about 3/4 of the water and see what the consistency is like, it's easy to add more but not to take it away.


Once your dough is at the right consistency, it's time to knead! There is no right or wrong way to knead bread, it's just about moving the dough until it is smooth and consistent. I've made a short video of how I knead, I stretch the dough with 1 hand and pull it back with the other. You need to make sure you knead the bread enough or you won't have built up the gluten enough in the flour and you won't have as good a rise. 10 mins is usually long enough, I either listen to 3 songs on my iPod or watch a 10 min long video on YouTube, so I have a good idea of when 10mins is up.


Lightly oil the mixing bowl you've already used and leave the ball of dough to rise for 1 hour (I set an alarm so I don't forget) in a warm place away from drafts. I use a (new and unused) shower cap you get from hotels to cover the top of the bowl, but plastic wrap works perfectly well too. After the hour you need to knock the dough back by giving it a quick knead for a minute or two, this will get rid of the bigger air bubbles. Then tuck the dough in on itself and make it into a sausage shape that will fit into a greased bread tin.


You then have to leave it rest again, this time only for a 1/2 hour or until the top of the dough has risen above the edges of the tin. During this time set the oven to 200C/ 390F. To give the dough a beautiful colour and appearance, brush the top with a eggy-wash (egg beaten with a bit of milk or water) and using a sharp knife, quickly makes 3 slashes on the top of the bread. This will allow steam to escape and make sure the bread doesn't crack at the sides. Then, get it straight into the oven and bake it for 35-40 mins until it has a lovely golden crust and when tapped sounds hollow.


Although very difficult, try leave it cool for an hour on a rack before cutting into it and enjoying one of the nicest breads you've ever eaten!


Wednesday, July 10, 2013

Lunchtime Sushi


I love sushi but often the veggie ones you buy can be a bit boring and sadly, there isn't anywhere near by me that sells any good stuff, so making my own is really my only option. I like using brown sushi rice, it's not as sticky as the white rice but it has a lovely flavour and it's better for you. Being brown it also takes a good bit longer to cook but it's worth it in the end. I used 1/2 a cup of rice which was a perfect amount for 2 rolls.


I had some leftover tofu from dinner last night so I decided to add it in, along with matchsticks of carrot and slices of perfectly ripe avocado. Yum! (also how cute is my swan chopping board, LOVE it!) My sushi mat has vanished somehow, so it wasn't a perfect roll, but I placed the nori sheet on top of a piece of plastic wrap and used my hands to shape it. I can usually make 6 or 8 pieces of sushi from each roll, depending oh how thick I want them.


Sushi is definitely one of my favourite lunches and when you've made it fresh, it just tastes so much better. There are so many health benefits to sushi too and once you have the rice cooked it doesn't take long to put it together and tuck in! Itadakimas!